> ## Documentation Index
> Fetch the complete documentation index at: https://docs.commert.com/llms.txt
> Use this file to discover all available pages before exploring further.
# Manage Store in Commert Admin
In this guide, you’ll learn how to edit the store’s details and available currencies.
## View Store Details
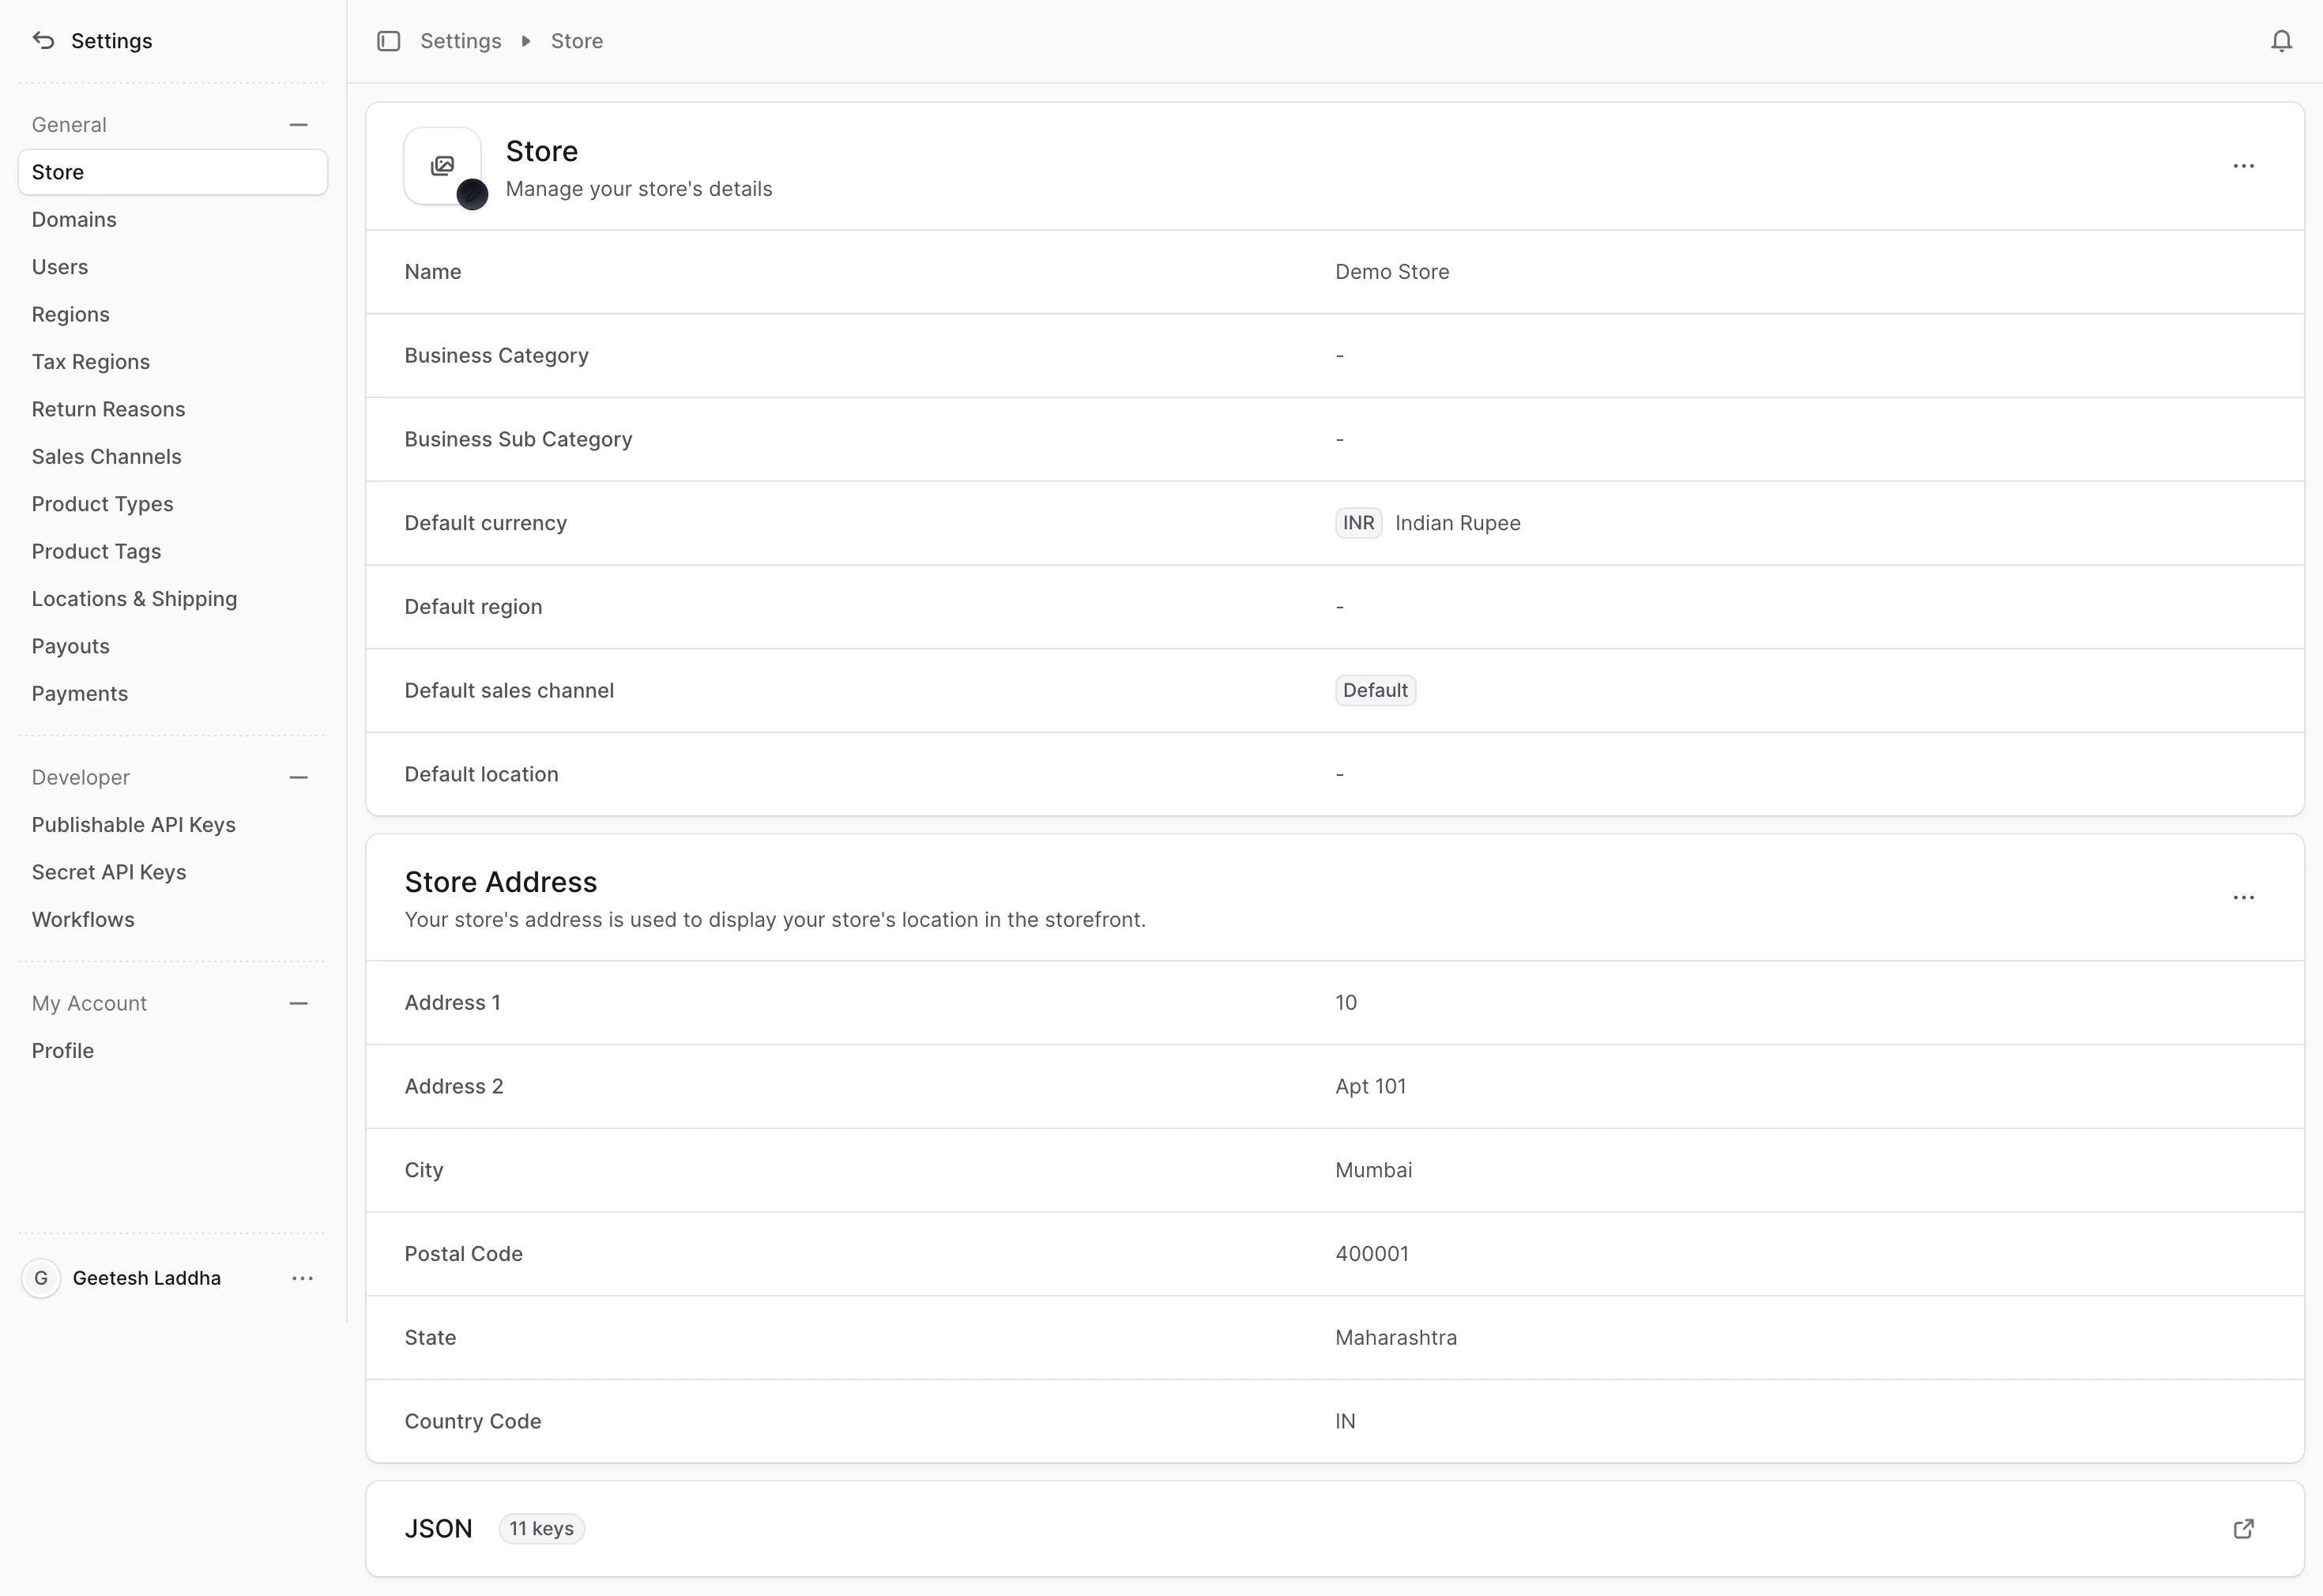
To view your store's details, go to Settings → Store. There, you can view and manage the store's details and its available currencies.
 ***
## Edit Store Details
To edit the store’s details:
1. Go to Settings → Store.
2. Click the icon at the top right of the "Store" section.
3. Choose Edit from the dropdown.
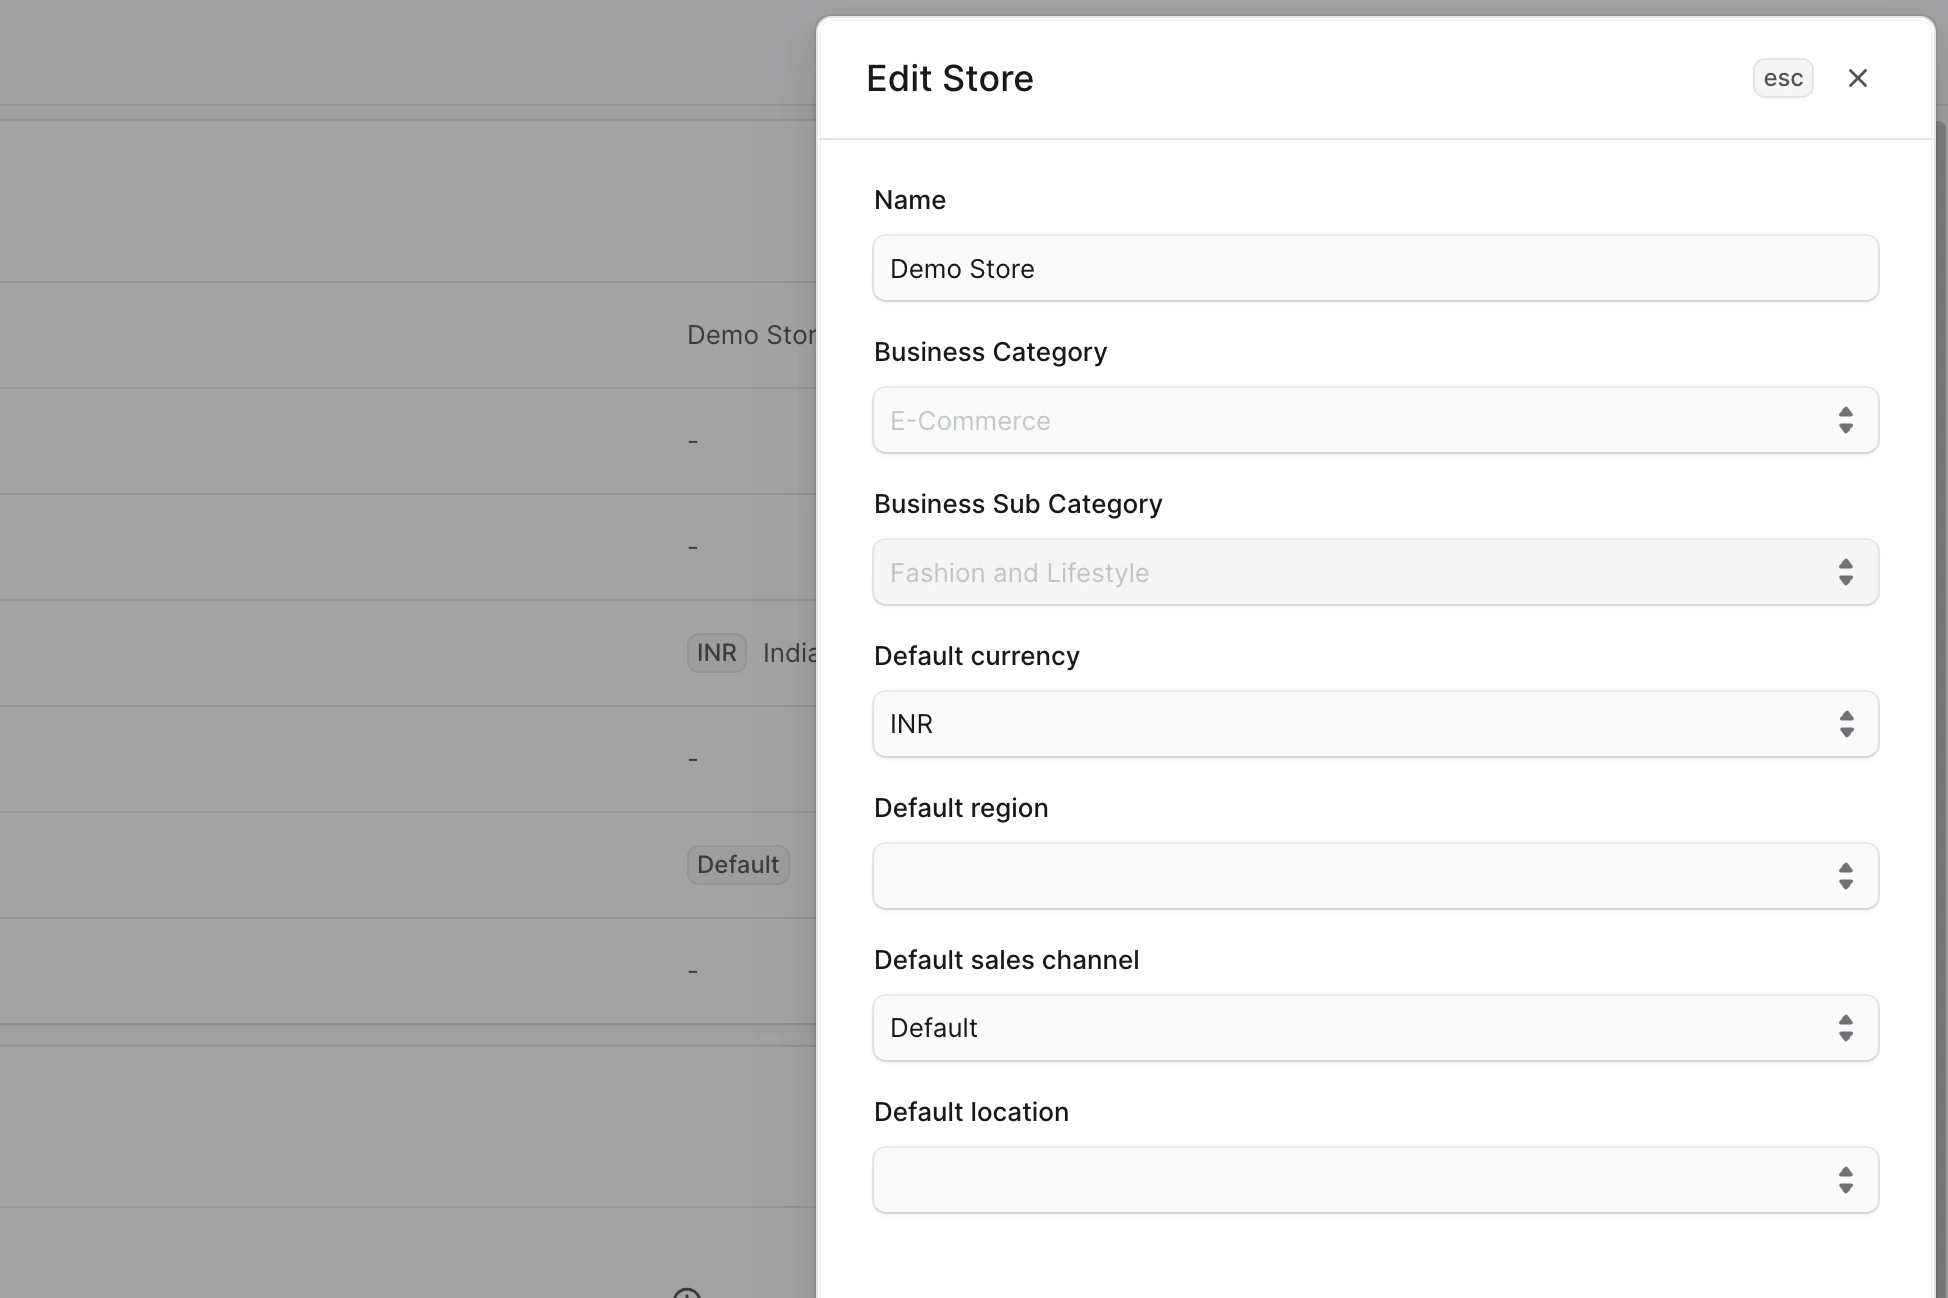
4. In the side window that opens, you can edit the store's name, default currency, default region, default sales channel, and default location. These defaults are used in the storefront if no other values are provided.
5. Once you're done, click the Save button.
***
## Edit Store Details
To edit the store’s details:
1. Go to Settings → Store.
2. Click the icon at the top right of the "Store" section.
3. Choose Edit from the dropdown.
4. In the side window that opens, you can edit the store's name, default currency, default region, default sales channel, and default location. These defaults are used in the storefront if no other values are provided.
5. Once you're done, click the Save button.
 ***
## Manage Store Address
A store address represents the physical business location of your store. This address is displayed to customers on the storefront and may also be used for shipping, tax calculations, and compliance purposes.
### Add a Store Address
To add a new store address:
1. Go to the Manage Store page.
2. In the **Store Address** section, click the **Add** button.
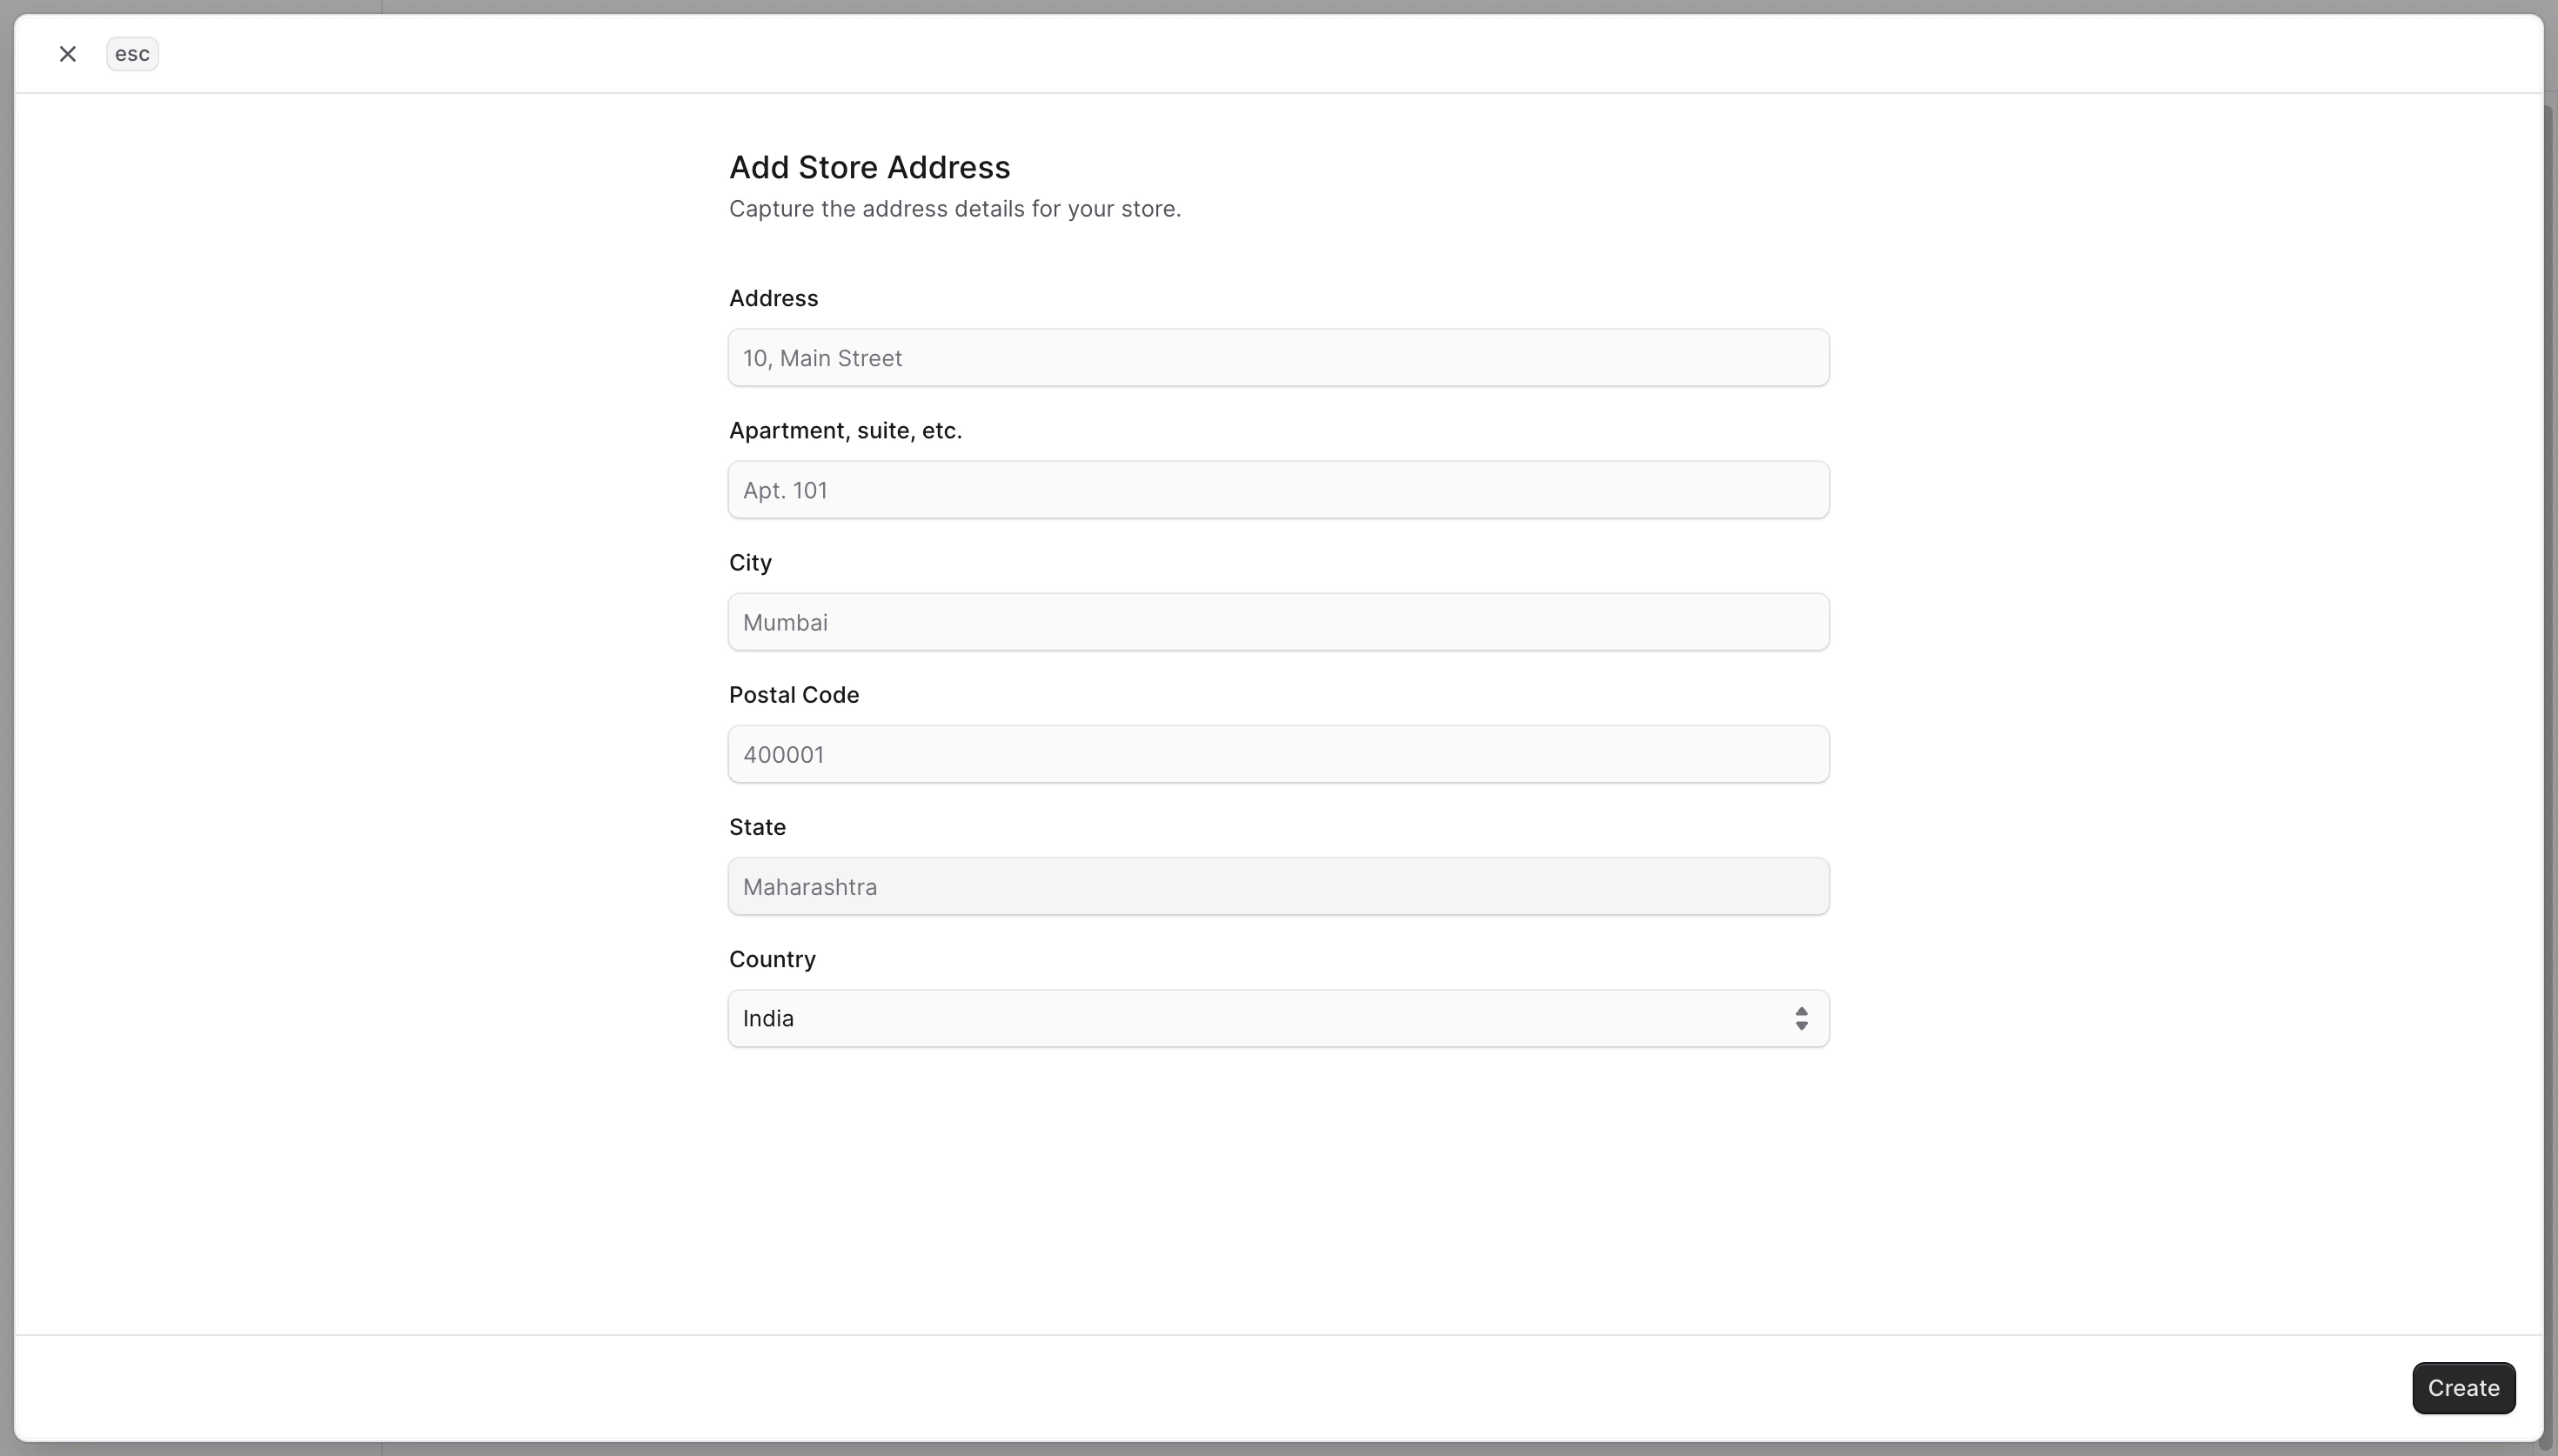
3. You will be taken to a form to add the store address.
4. Fill out the form with the required details.
5. Once completed, click **Save**.\
The store address will now appear in the Store Address section.
***
## Manage Store Address
A store address represents the physical business location of your store. This address is displayed to customers on the storefront and may also be used for shipping, tax calculations, and compliance purposes.
### Add a Store Address
To add a new store address:
1. Go to the Manage Store page.
2. In the **Store Address** section, click the **Add** button.
3. You will be taken to a form to add the store address.
4. Fill out the form with the required details.
5. Once completed, click **Save**.\
The store address will now appear in the Store Address section.
 ### Edit a Store Address
To edit an existing store address:
1. Go to the Manage Store page.
2. In the **Store Address** section, click the **ellipsis** button (⋯) for the address you want to update.
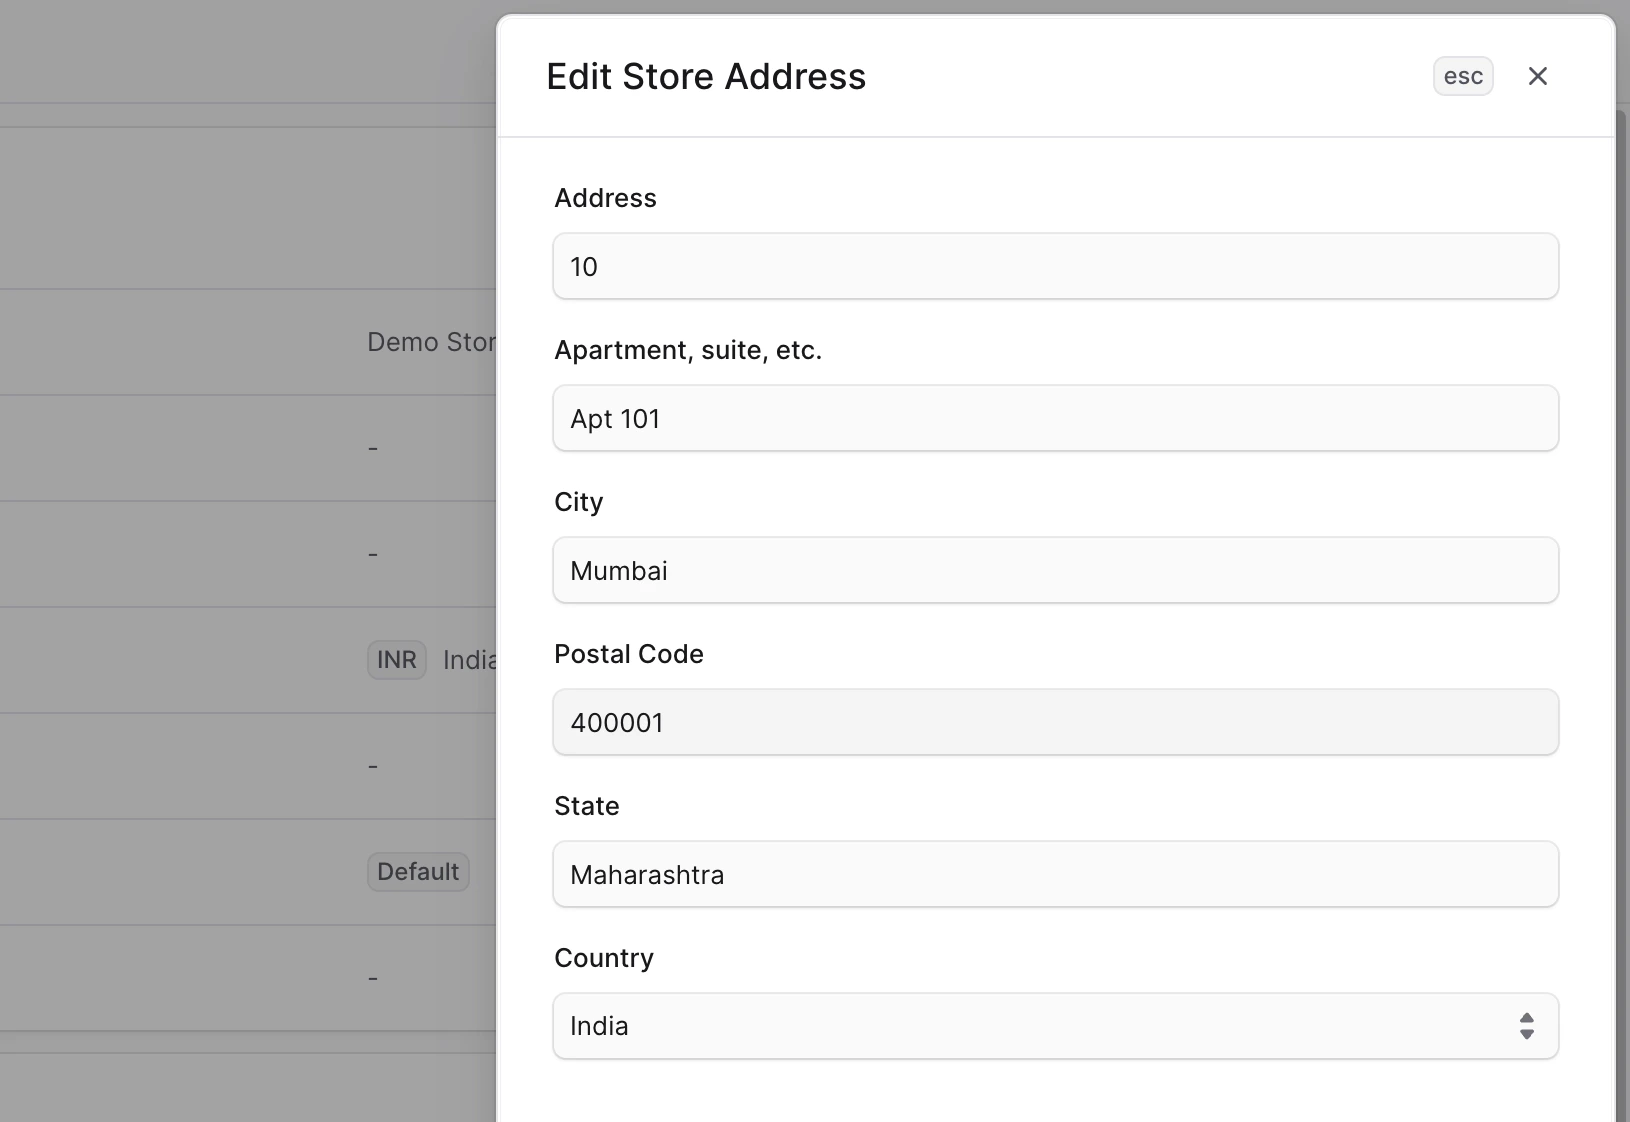
3. This opens the **Edit Store Address** form.
4. Update the necessary details.
5. Click **Save**.\
The store address will be updated.
### Edit a Store Address
To edit an existing store address:
1. Go to the Manage Store page.
2. In the **Store Address** section, click the **ellipsis** button (⋯) for the address you want to update.
3. This opens the **Edit Store Address** form.
4. Update the necessary details.
5. Click **Save**.\
The store address will be updated.
 ***
## Manage Store Metadata
Metadata is custom data that can be associated with the store in key-value pairs. This is usually used by developers for custom integrations or to store additional information about the store.
To edit the store's metadata:
1. Click the icon at the right of the "Metadata" section.
2. In the side window that opens:
* Manage the key-value pairs in the table.
* To add a new row of key-value pairs before or after a row:
* Hover over the row and click the icon at its right.
* Choose "Insert row above" or "Insert row below" from the dropdown.
* To delete a row of key-value pairs:
* Hover over the row and click the icon at its right.
* Choose "Delete row" from the dropdown.
3. Once you're done, click the Save button.
***
## Manage Store Metadata
Metadata is custom data that can be associated with the store in key-value pairs. This is usually used by developers for custom integrations or to store additional information about the store.
To edit the store's metadata:
1. Click the icon at the right of the "Metadata" section.
2. In the side window that opens:
* Manage the key-value pairs in the table.
* To add a new row of key-value pairs before or after a row:
* Hover over the row and click the icon at its right.
* Choose "Insert row above" or "Insert row below" from the dropdown.
* To delete a row of key-value pairs:
* Hover over the row and click the icon at its right.
* Choose "Delete row" from the dropdown.
3. Once you're done, click the Save button.