Open Product’s Details
To open a product’s details:- Go to the Products page from the sidebar.
- Select one of the products to open its details page.
Manage General Product Details
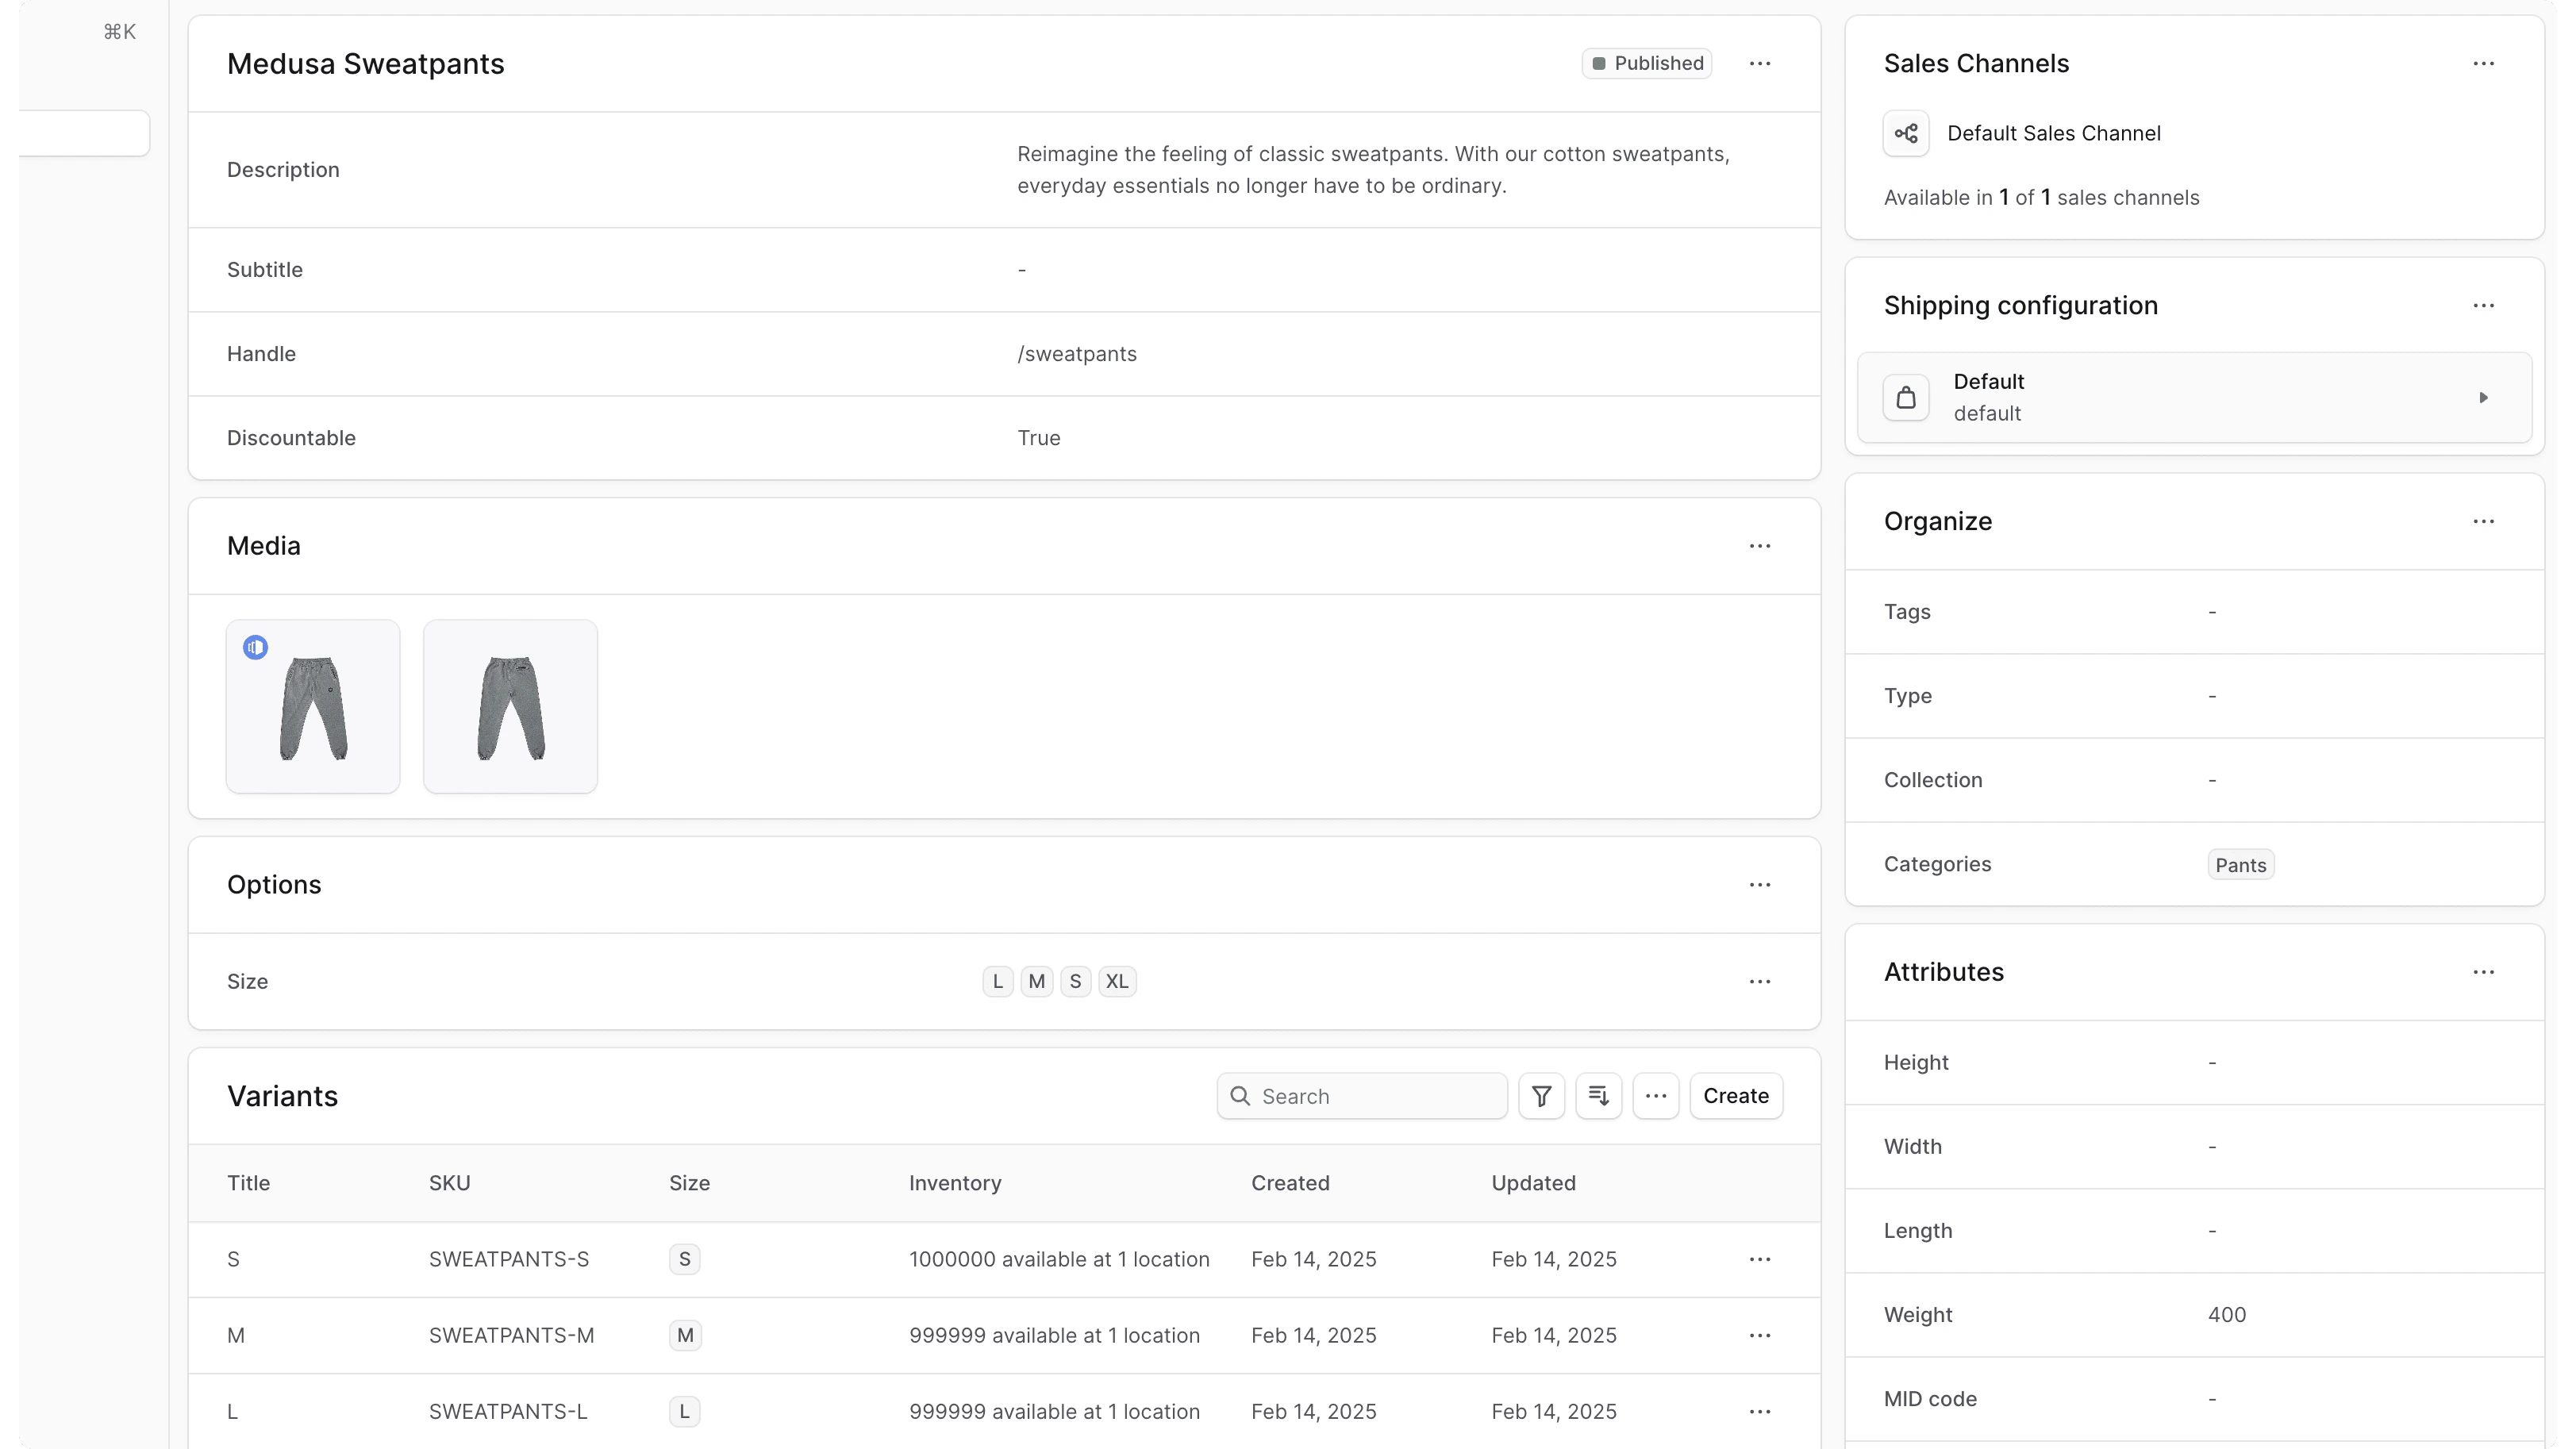
The first section, which has the product’s title as a header, includes the product’s general information and options. Use this section to view and edit the product’s details.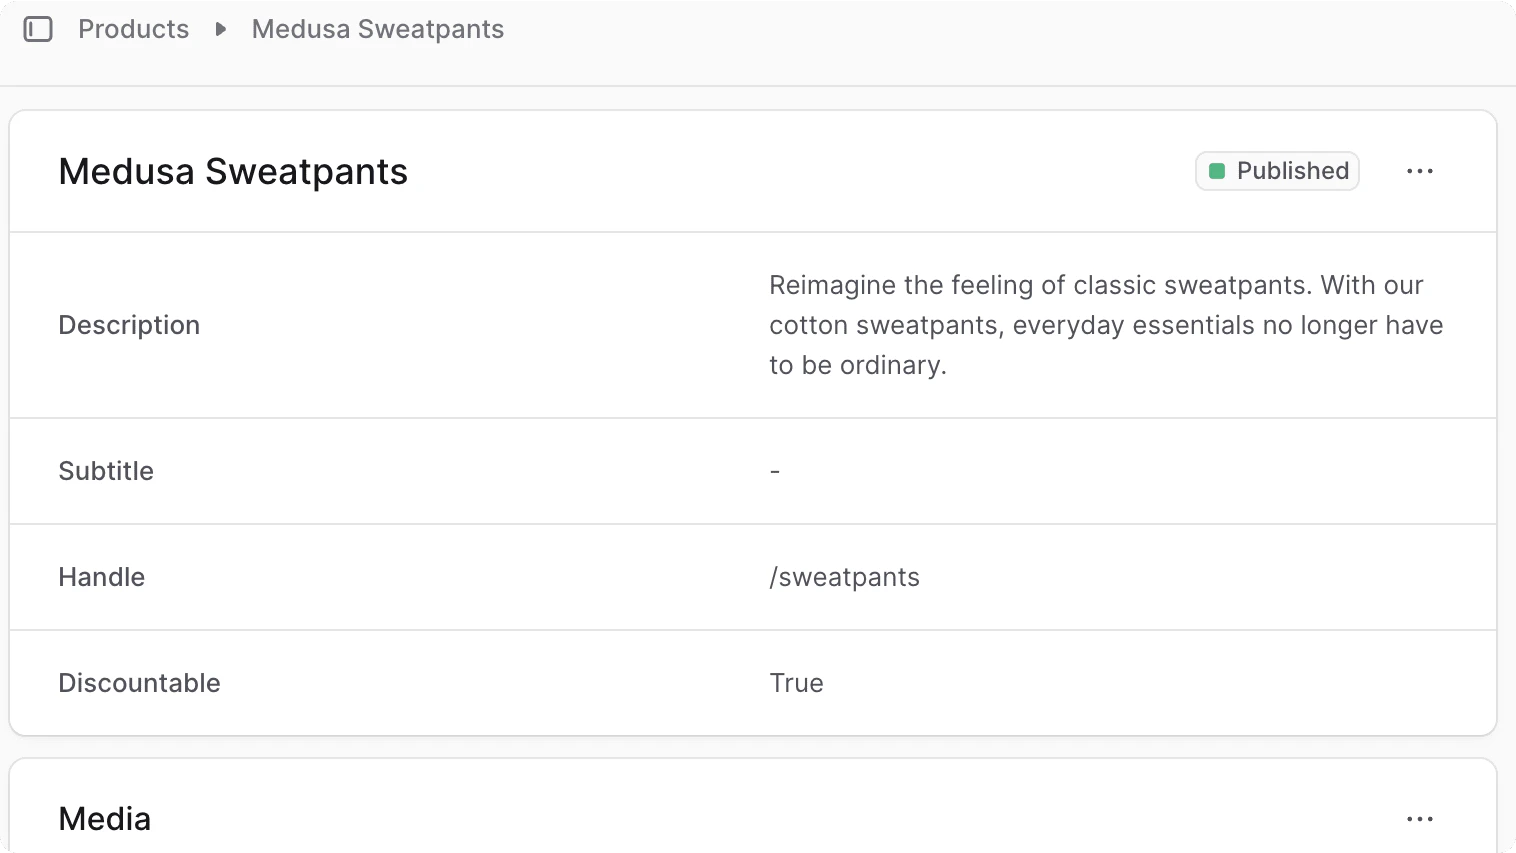
Product Statuses
At the top right of the first section, you can see the product’s status. A product can have one of the following statuses:| Status | Description |
|---|---|
| Published | The product is available on the storefront and can be purchased. |
| Draft | A product whose details you’re still working on. It’s not available on the storefront. |
| Proposed | A product that is not yet approved for publishing. It’s not available on the storefront. |
| Rejected | A product that has been rejected and is not available on the storefront. |
Edit Product Details
To edit the product’s general details:- Click on the icon at the top right of the section.
- Choose “Edit” from the dropdown.
- In the side window that opens, you can edit the product’s status, title, subtitle, handle, material, description, and whether it’s discountable.
- Once you’re done, click the “Save” button.
Delete Product
In this section, you can also delete the product.Deleting a product is irreversible.
- Click on the icon at the top right of the section.
- Choose “Delete” from the dropdown.
- Confirm deleting the product by clicking the “Delete” button in the pop-up.
Manage Product Media
The Media section includes the product’s images. Use this section to view and edit the product’s images.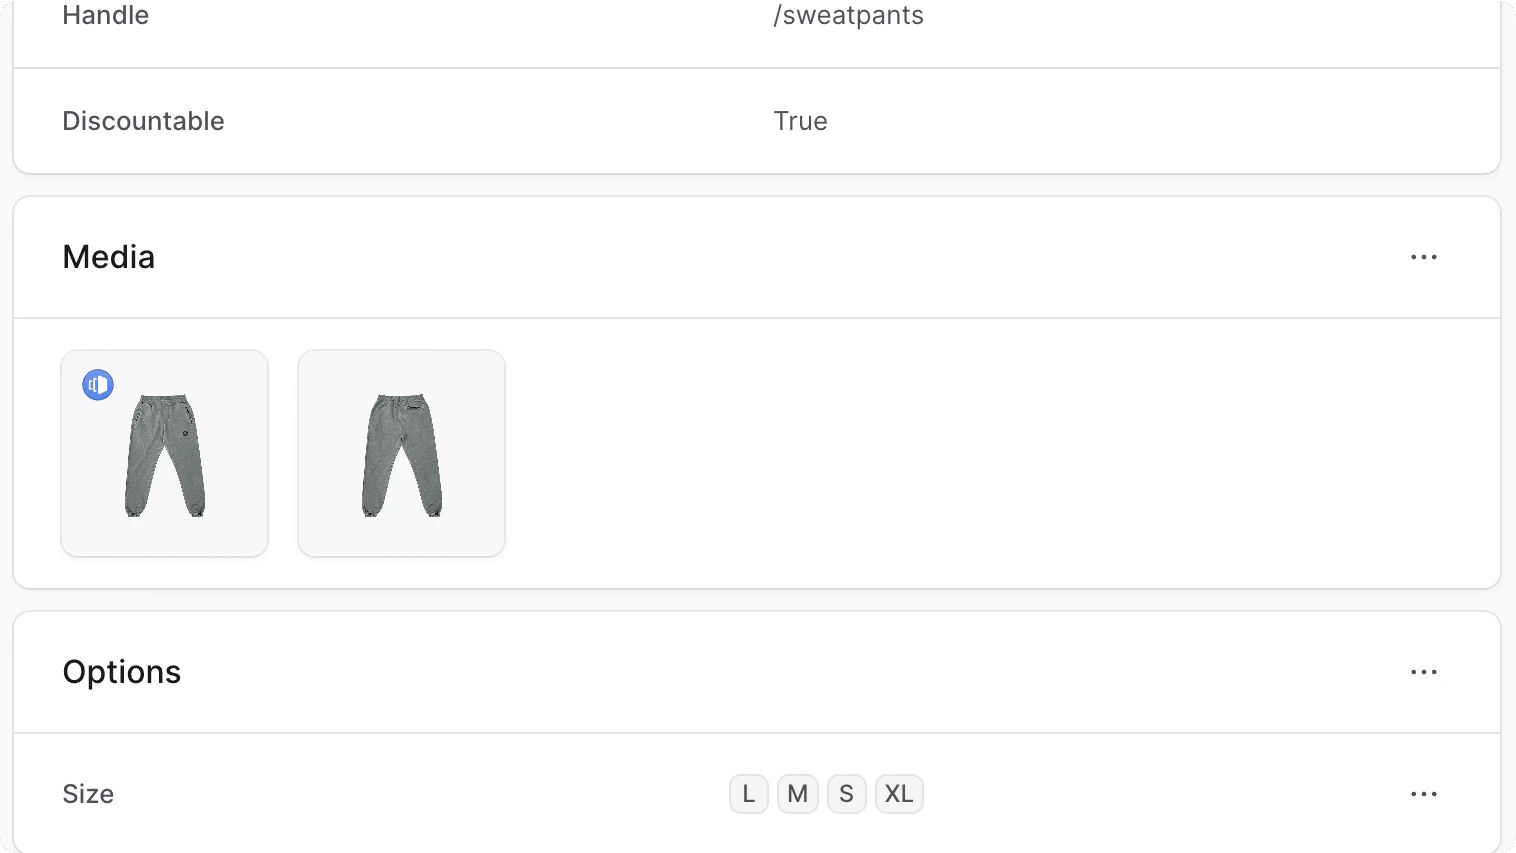
Add Images
To add images to the product:- Click on the icon at the top right of the “Media” section.
- Choose “Edit” from the dropdown.
- In the form that opens, upload images either by dragging and dropping them or by clicking the “Upload images” box.
- Once you’re done, click the Save button.
Edit Images Order
You can edit the order that images are shown in. To do this:- Click on the icon at the top right of the “Media” section.
- Choose “Edit” from the dropdown.
- In the form that opens, drag and drop images to change their order.
- Once you’re done, click the Save button.
Set Thumbnail Image
The product’s thumbnail image has the- Click on the icon at the top right of the “Media” section.
- Choose “Edit” from the dropdown.
- Hover over the image you want to make as a thumbnail, then click on its checkbox.
- Press
Tor click the “Make thumbnail” button at the bottom of the page. - Once you’re done, click the Save button.
Delete Images
You can delete the images from the product’s page or from the images form. To delete product images:- Hover over the product images you want to delete and click their checkbox.
- Press
Dor click the “Delete” button at the bottom of the page. - Confirm deleting the images by clicking the “Delete” button in the pop-up.
Manage Product Options
The Options section includes the product’s options. Use this section to view and edit the product’s options.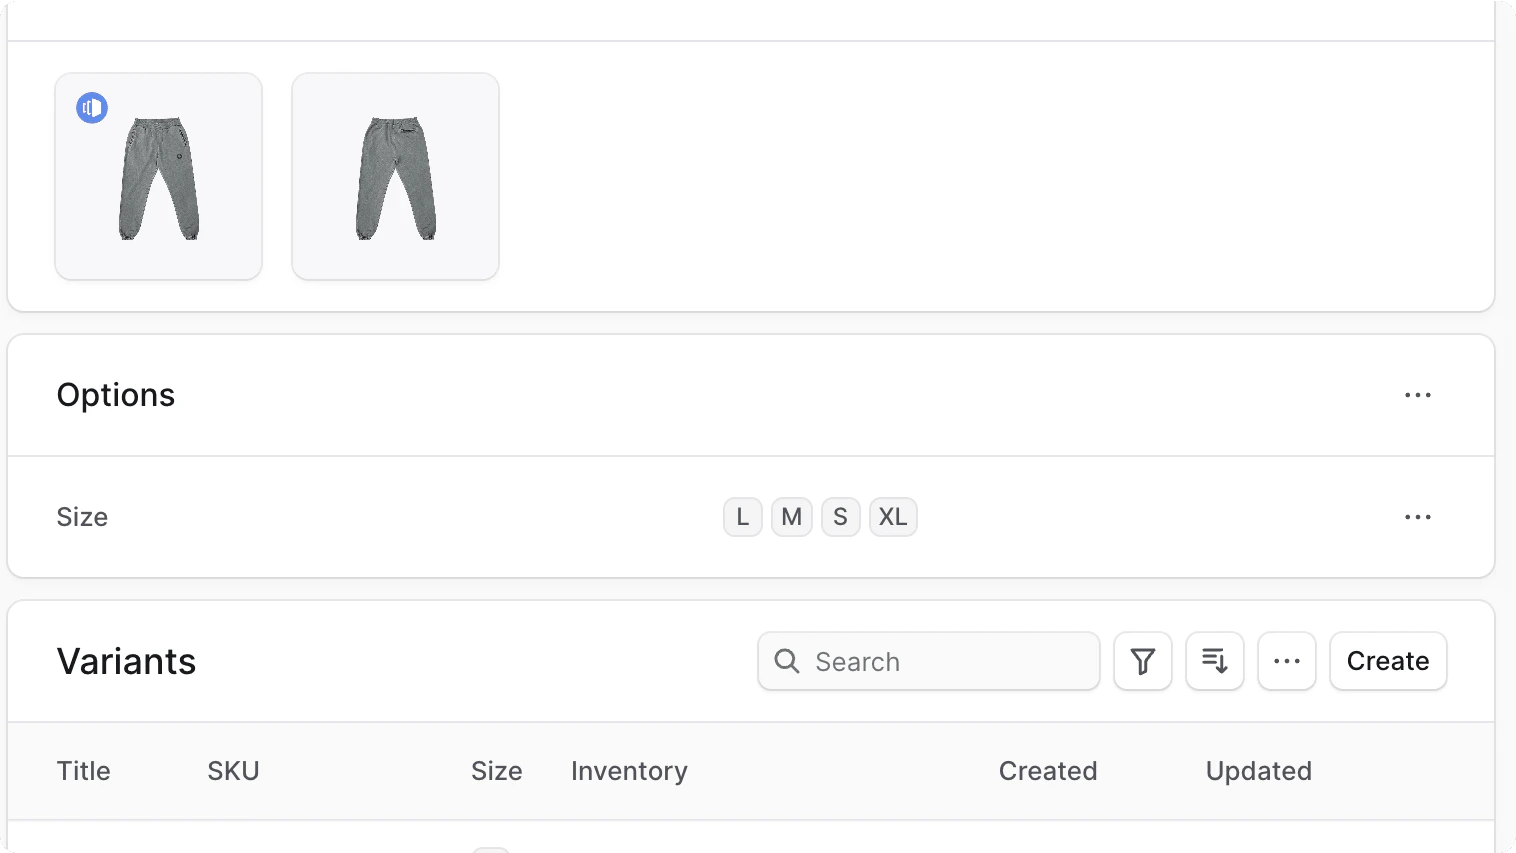
Create Options
Unlike the product-creation form, when you create an option for an existing product you must create the variants manually.
- Click on the icon at the top right of the “Options” section.
- Choose Create from the dropdown.
- In the side window that opens:
- In the Option title field, enter the option’s title, such as “Color”.
- In the Values field, enter the option’s values, such as “Red, Blue, Green”. Values are separated by a comma.
- Once you’re done, click the Save button.
Edit Option
To edit an option:- Click on the icon at the right of the option.
- Choose Edit from the dropdown.
- In the side window that opens, you can edit the option’s title and values.
- Once you’re done, click the Save button.
Delete Option
Deleting an option is irreversible.
- Click on the icon at the right of the option.
- Choose Delete from the dropdown.
- Confirm deleting the option by clicking the Delete button in the pop-up.
Variants Section
The Variants section includes the product’s variants. You can view, search, and filter variants. You can also edit a variant’s informtion, or click on it to edit more of its details. Refer to this guide to learn about managing product variants.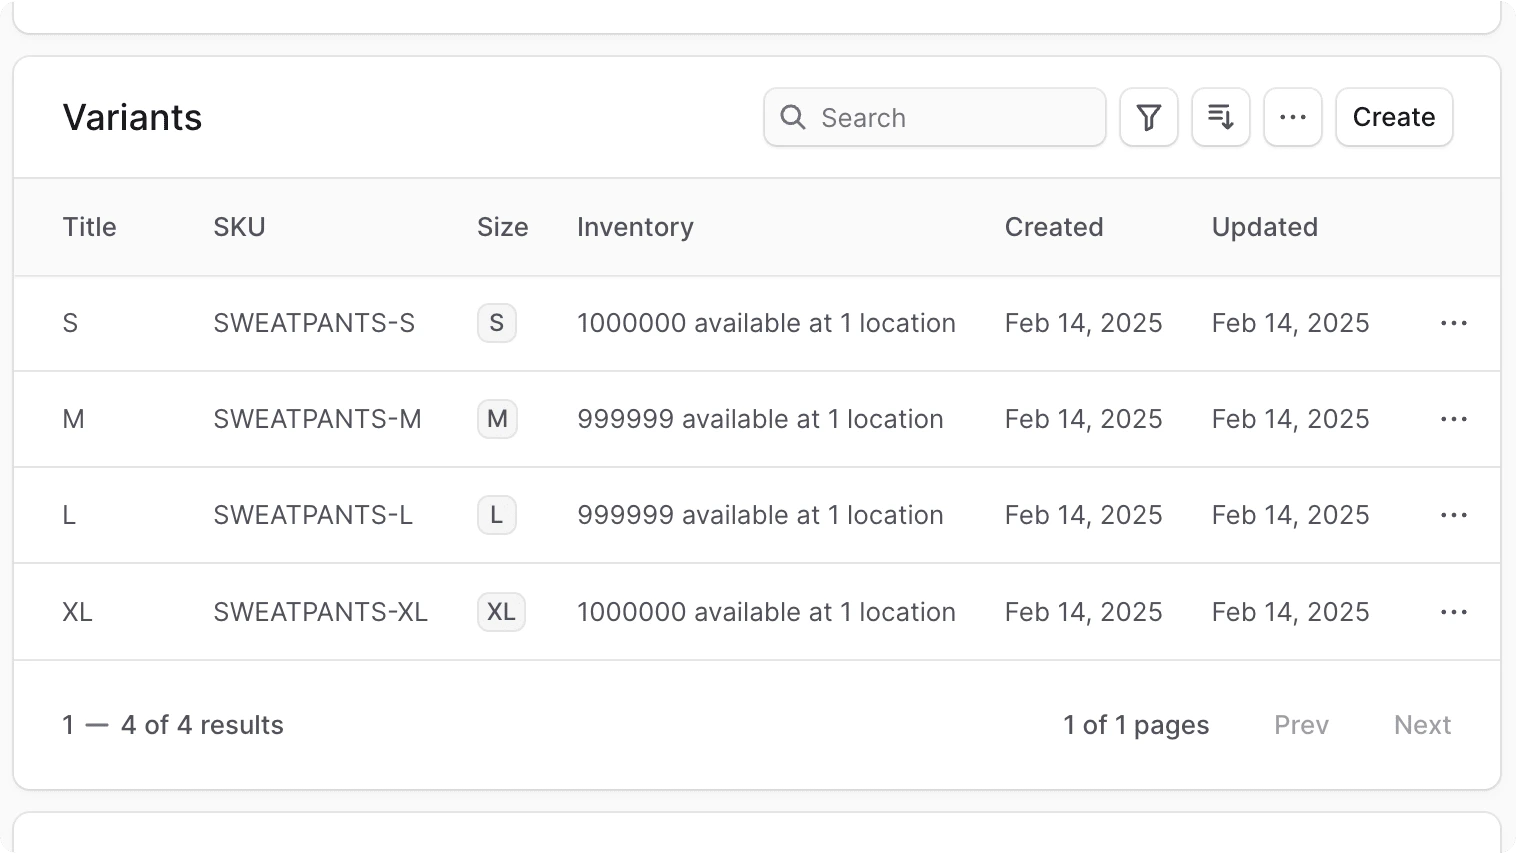
Manage Product Metadata
Metadata is custom data that can be associated with the product in key-value pairs. This is usually used by developers for custom integrations or to store additional information about the product. To edit the product’s metadata:- Click the icon at the right of the “Metadata” section.
- In the side window that opens:
- Manage the key-value pairs in the table.
- To add a new row of key-value pairs before or after a row:
- Hover over the row and click the icon at its right.
- Choose “Insert row above” or “Insert row below” from the dropdown.
- To delete a row of key-value pairs:
- Hover over the row and click the icon at its right.
- Choose “Delete row” from the dropdown.
- Once you’re done, click the Save button.
Manage Product’s Sales Channels
The Sales Channels section includes the sales channels the product is available in. Use this section to view and edit the product’s sales channels.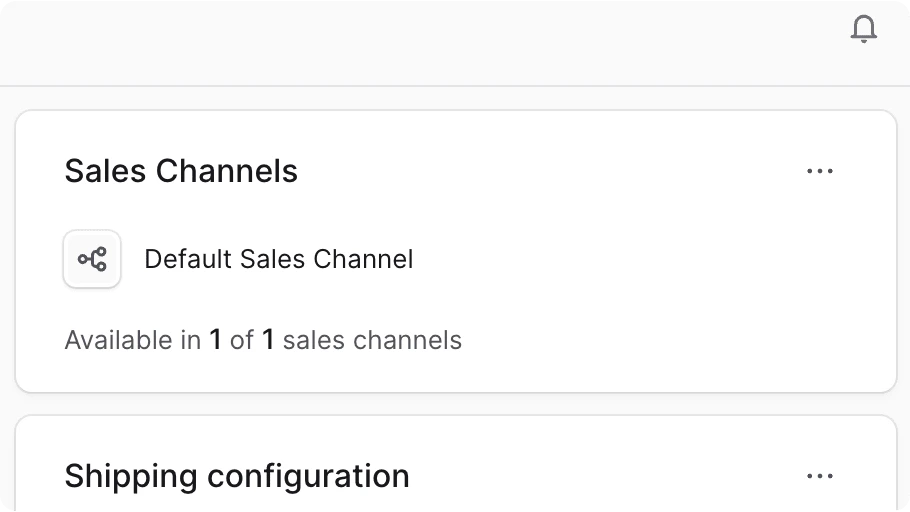
Removing a product from a sales channel will make it unavailable for purchase in that sales channel.
- Click the icon at the top right of the “Sales Channels” section.
- Choose Edit from the dropdown.
- In the list that shows, check the sales channels you want to add the product to, or unchecked the ones you want to remove the product from.
- Once you’re done, click the Save button.
Manage Product’s Shipping Configuration
The Shipping Configuration section includes the product’s shipping profile. Use this section to view and edit the product’s shipping profile.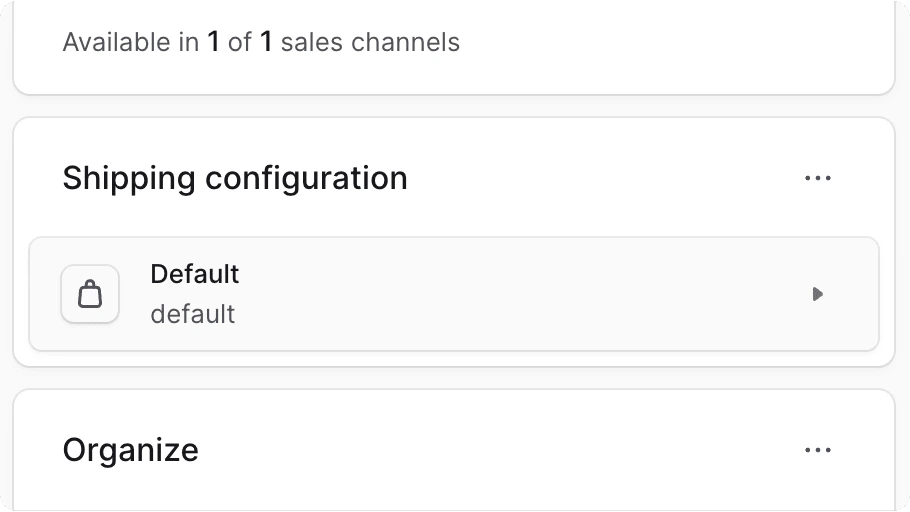
Edit Product’s Shipping Profile
To edit the product’s shipping profile:- Click the icon at the top right of the “Shipping Configuration” section.
- Choose Edit from the dropdown.
- In the side window that opens, choose the shipping profile from the dropdown.
- Once you’re done, click the Save button.
Manage Product Organization
The Organize section includes the product’s organization details. Use this section to view and edit the product’s organization details, such as categories and collection.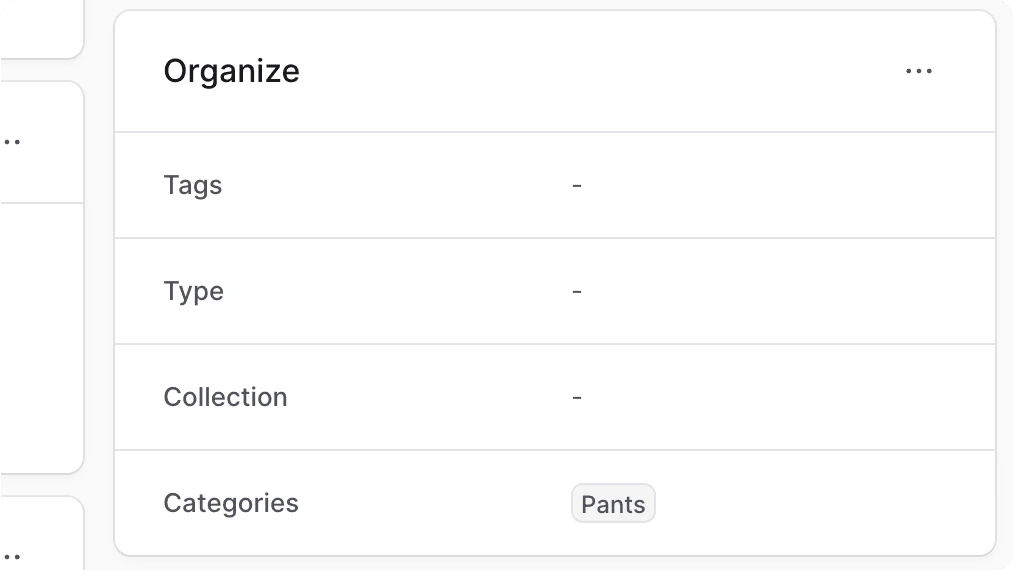
- Click the icon at the top right of the “Organize” section.
- Choose Edit from the dropdown.
- In the side window that opens, you can set the product’s type, collection, categories, and tags.
- Once you’re done, click the Save button.
Manage Product Attributes
The Attributes section includes the product’s attributes, such as height and weight. Use this section to view and edit the product’s attributes.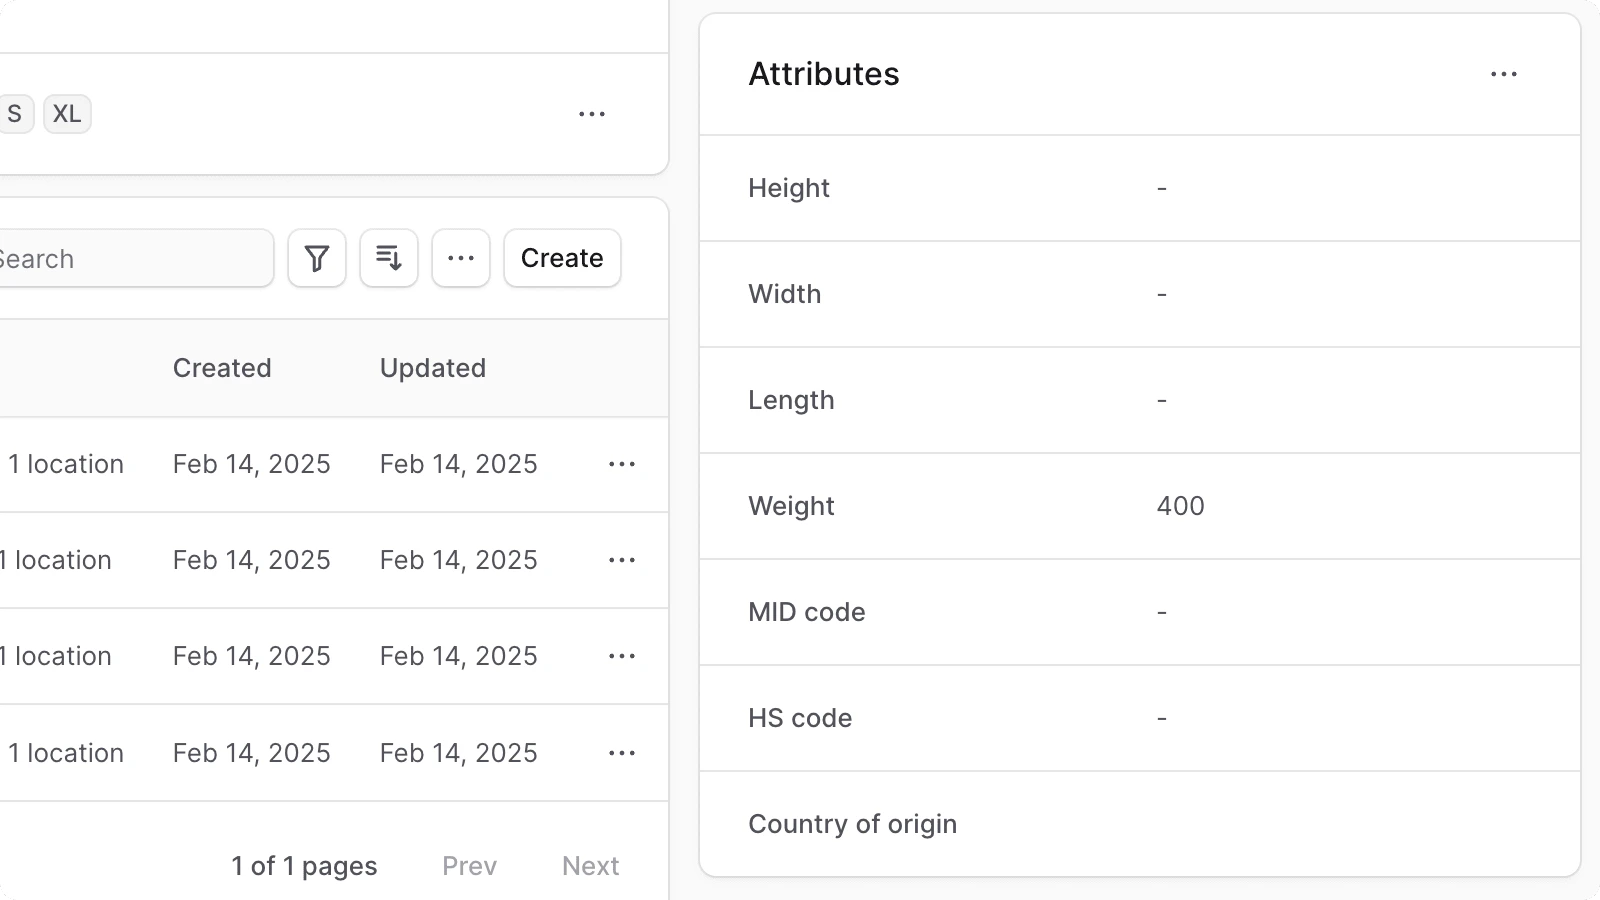
- Click the icon at the top right of the “Attributes” section.
- Choose Edit from the dropdown.
- In the side window that opens, you can set the product’s width, height, length, weight, MID code, HS code, and country of origin.
- Once you’re done, click the Save button.